We recently threw Aden a successful (mini) first birthday party during the pandemic!
I hosted the party at my grandmother’s beautiful condo during our trip to Long Island. Due to the pandemic, we only had immediate family attend.
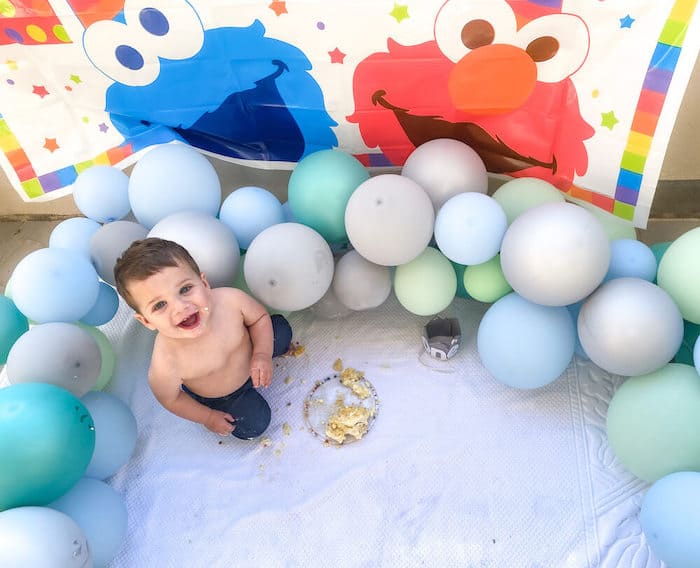
It was a simple, easy to execute get-together, and a memorable afternoon for all of us!
A quick preview of some things I’m going to cover:
- How to make a GORGEOUS multi-purpose balloon garland
- A really fun and cheap activity that’s great for all ages
- Tips for keeping your guests safe during the pandemic
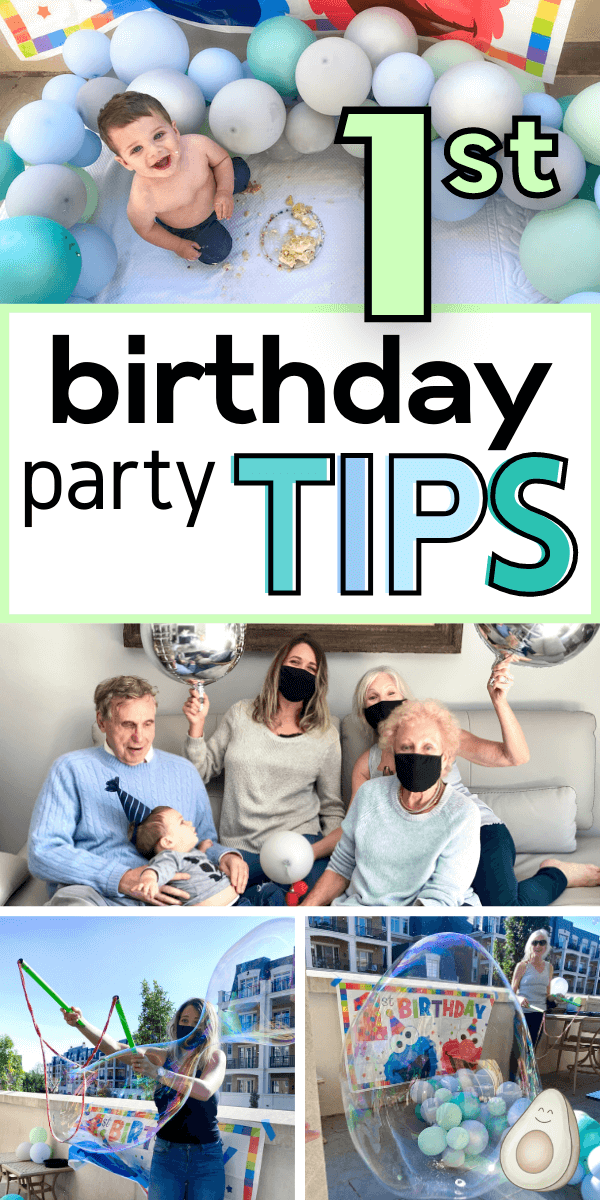
PIN FOR LATER!
There may be affiliate links in this post. Read this disclosure policy to learn more.
Now, let’s dive into my 10 tips for throwing a successful first birthday party!

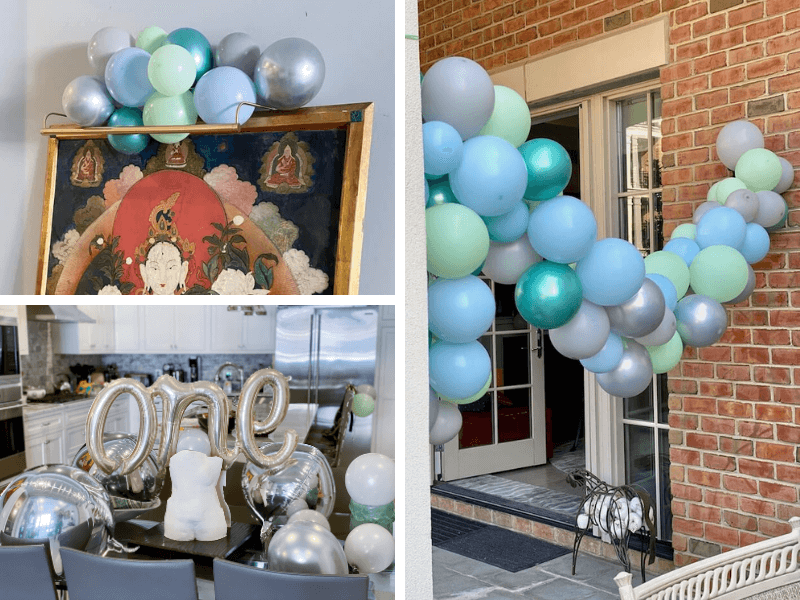
Save money and time on party decorations by choosing stuff that can easily be moved for photo opportunities.
I bought:
I made a beautiful balloon garland (see the simple instructions below). It was hanging in the background for much of the party…

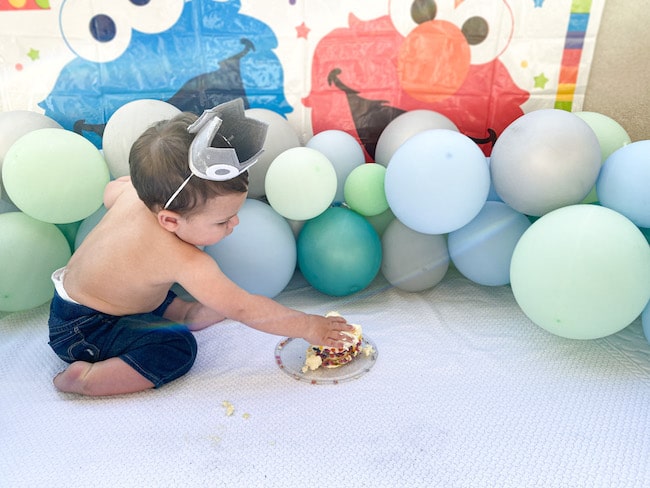
Then, when it was time for Aden’s cake smash, I pulled it down (which took 2 seconds) and used it on the floor as part of the backdrop.

If you’d like to create your own balloon garland, here’s everything you need to know.
Otherwise, keep scrolling for more first birthday party tips!
What to buy for a DIY balloon garland
If you prefer to buy everything individually, here’s what you need:
- Electric balloon pump **MUST HAVE**
- Balloons of different sizes and colors
- Balloon strip (this is what holds the balloons in place)
- Balloon glue (this comes with the strip if you use that link)
- Clear string — or ribbon — or these hooks (to hang the garland)
Or, you can do what I did and buy a balloon garland kit. This is the one I bought and I’ll tell you why I liked it…
- I love the mix of regular and metallic balloons.
- The kit has 148 balloons, which was MORE than enough for my purposes. I initially planned to save half of them for another party, but then I decided to use the extra balloons in other places.
- The balloons in the kit are different sizes.
- The kit includes 3 giant silver foil balloons.
- The kit also includes the balloon strip and glue. (I still had to buy the electric pump separately).
In a second, I’m going to give you balloon garland instructions and tips.
But first I want to reiterate: DON’T skip the electric balloon pump! I know it’s tempting to save the money, but trust me, this project would be torturous without it.
I bought this pump and it was great. Not only will it save you a TREMENDOUS amount of time, but it will probably save you a headache. Plus, you can use it for every party you have in the future!
For inspiration, here are some of the other places I stuck balloons:

Simple steps for making a balloon garland
Balloon garlands look impressive, but don’t let that intimidate you. They are SO easy to make!
1. Blow up a bunch of balloons of different sizes. Make sure they’re tightly knotted so air doesn’t leak out.
I blew up ~10 balloons back to back, and then added them to the garland. Then repeat. Batching is your best friend.
2. Pull the balloon knots through the holes of the balloon strip. Insert them from both sides.
(If you don’t have your kit yet and this doesn’t make sense, don’t worry. It will be obvious when you see it).
You can decide if you want to leave any holes empty on the strip based on how it looks. For a more flexible garland, try leaving gaps every other balloon.
You can also decide if you want to create clusters of a single color.
I didn’t intentionally leave any gaps in my garland. I also didn’t try to create any color pattern.
3. Add depth to the garland by using balloon glue to attach additional balloons.
To clarify, these additional balloons are not being threaded through the balloon strip like the others — they are just being tacked on.
I only did this in a few places to fill in gaps. I mostly tried to pull additional balloons through the strip itself.
4. Hang your balloon garland. Either get hooks like these or use string to tie the garland onto an existing structure.
Using ribbon, I tied one side of my garland to a lantern and then wrapped the other side around a column.
Depending on your pace, you could probably assemble the entire balloon garland in 1 to 2 hours. Maybe faster!
Now for some tips based on my on trial and error…
Tips for making the perfect balloon garland
All of this is going to sound more complicated than it actually is. Once you start working on your own balloon garland, you’ll see that it’s very intuitive.
 Round-shaped balloons look better on the garland than the typical “tear drop” balloon shape.

 Hide the balloon knots. The bottoms of the balloons shouldn’t be visible on the garland. The way to do this is to add balloons nearby to block the view of the knots.
How to do this: You can stick more balloons through the holes of the balloon strip. Or, you can use balloon glue to add small balloons to fill in any gaps in the garland.
 Use balloons of different sizes. This will make your garland look more full and texturally interesting. I used 5″ and 10″ balloons.
Small balloons are great for filling in gaps. They’re also great for tapering the garland’s ends so that it’s more full in the middle and then “drips” down on the sides.
I don’t suggest making your own small balloons by partially inflating large balloons for the following reason…
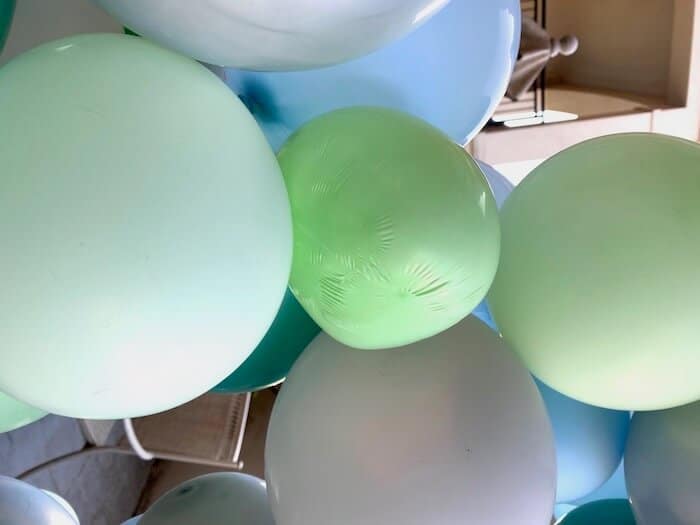
 If balloons aren’t inflated enough, they will start to wither and dimple. That green balloon in the center dimpled overnight because I didn’t inflate it enough.
 If your party is outside, you might want to avoid metallic balloons. A few of our silver metallic ones popped in the bright sun.
 Make sure to pull the knot (at the base of each balloon) all the way into the holes on the balloon strip. If you don’t, the balloons will fall out over time.
 Don’t even dream of blowing up all these balloons without using a machine unless you have an army of benevolent friends to help you. It only took me about 3 seconds to inflate each balloon with a pump. SO worth it!

Continuing our list of first birthday party tips…
Snap a few pictures BEFORE everyone arrives.
I (correctly) predicted that within no time, balloons would start to pop, decorations would get shifted, and Aden’s shirt would get dirty.
Some of my favorite pictures were taken first thing in the morning while Aden was still in his pajamas…

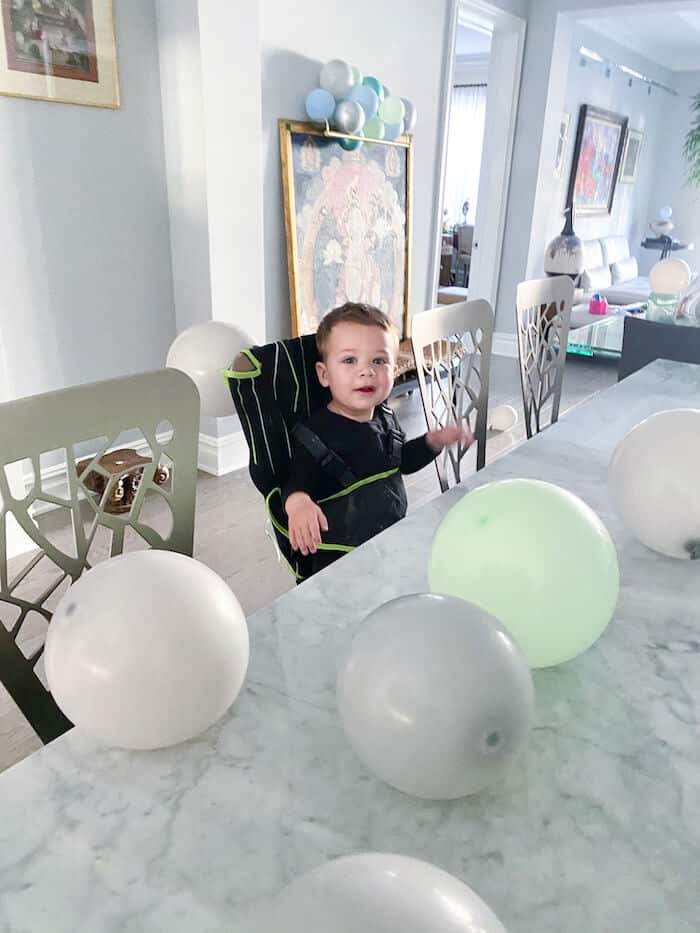

It’s okay if the guest of honor arrives a little late…
Your baby’s mood will be the key to how much you, and obviously HE, enjoys the party.

Aden making his grand entrance! Get his birthday outfit: “Birthday Dude” shirt, “One” crown, distressed jeans
I asked our guests to arrive shortly after Aden’s first nap. It took him a while to fall asleep, which meant he slept later than I had planned for.
I didn’t dare wake him because I wanted him to be fully rested and in the best possible mood. He missed the first half hour of his party — which was totally fine.

Cake smashes are cute photo opps, but keep your expectations low and don’t obsess about the details.

If you’ve never heard of this new-ish trend, let me fill you in real quick: A “cake smash” is when you give a baby a small cake to grab with their hands and make a big mess with. Parents often buy special cakes marketed as “smash cakes.”
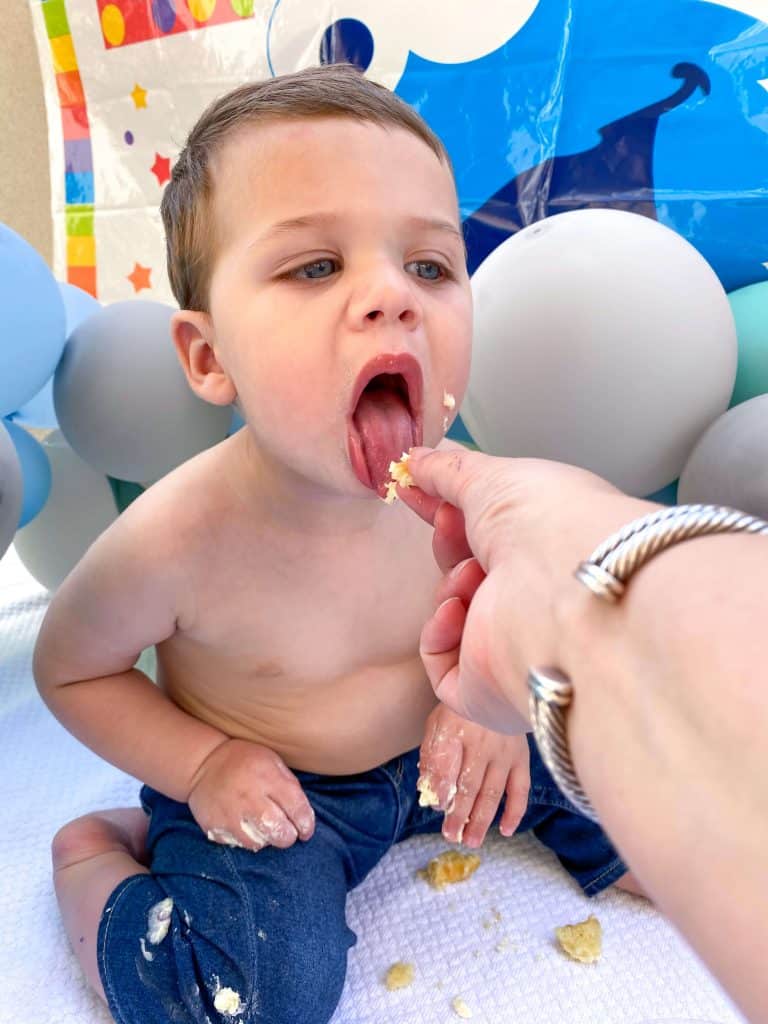
Aden, much like his mama and dada, wasn’t that into the cake. He enjoyed a couple of bites, but that was it.
I kind of anticipated this (I know my baby!) but I didn’t want to deprive him of a cake smash — just in case it was as magical as instagram told me it was.
So, here’s what we did to keep things simple with the cake:
 I did NOT buy a special cake. I had a $12 vanilla cake delivered from Whole Foods. I really didn’t care what it looked like. The one we got was more than fine.
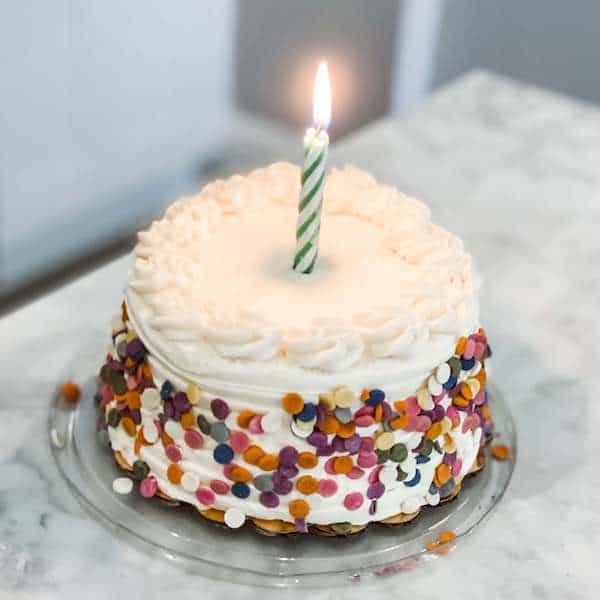
 We sang Aden happy birthday and I blew out a single candle for him. We video conferenced with immediate family who couldn’t travel due to the pandemic.
 I considered giving Aden the whole cake to play with, but thankfully I had the foresight that he’d get bored with it really quickly.
I cut the cake into fourths and gave him a piece. A few guests ate the rest of the cake.
 I put a towel down on the floor and let him grab his piece of cake. He didn’t realize right away that he could eat it.
I fed him a couple of bites, and then he just smeared frosting on the balloons. That was it. Pretty anticlimactic.

Plan your baby’s primary and backup outfit.
Aden wore the gray shirt from this set with a pair of distressed jeans. He also wore this adorable crown for pictures.
You really don’t need to go overboard with the backup outfit, but just consider what clothes you won’t mind seeing in lots of pictures.
I would *not* want the ugly backup onesie I keep in Aden’s diaper bag to be in all our pics.
Or you can just ditch the clothes like we did 🙂
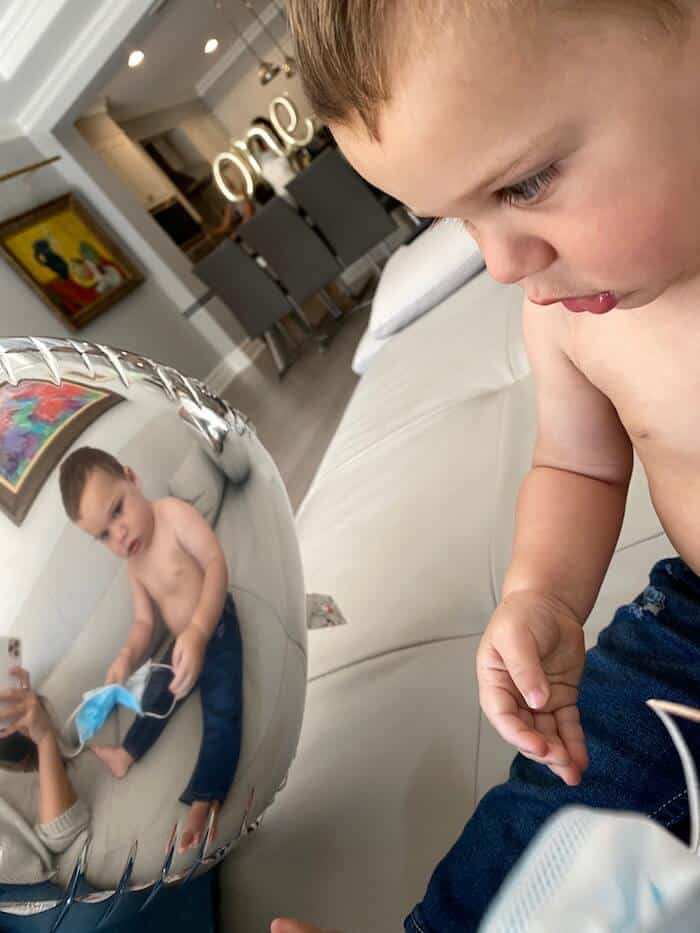

Try to strike the right balance between catering to your guests, making it a great day for your baby, and celebrating a year of surviving parenthood.
My goals were:
- Minimize stress/planning for me
- Not overwhelm Aden (kids often cry at their birthday parties)
- Mark the occasion by creating some nice memories and taking pictures
- Have a simple, low-key activity for us all to do (details on that below)
I’m happy to say that all of this was achieved.

When it comes to birthday party activities for a one year old baby, the simpler the better. We had:
- Loose balloons to crawl after and bat around on the floor
- Plastic containers filled with water to splash in
- Hand puppets
- …and we also made GIANT BUBBLES!
My family is obsessed with bubbles, so for us, this was hours of entertainment. Cheap, practically zero prep, highly entertaining, and fun for all ages. What more could you want?

Note: Unless you’ve got a bunch of kids in attendance, you don’t actually need to plan any sort of activity. Adults are happy just to sit around and chat, eat food, and play with the baby.
If you like the giant bubbles idea, here’s everything you need to know…
What to buy for giant bubbles
I bought this kit which came with an oversized wand and 2 packets of bubble solution. It was great!
All you need to do is mix the solution with water and you’re good to go! (This solution doesn’t require you to add soap).
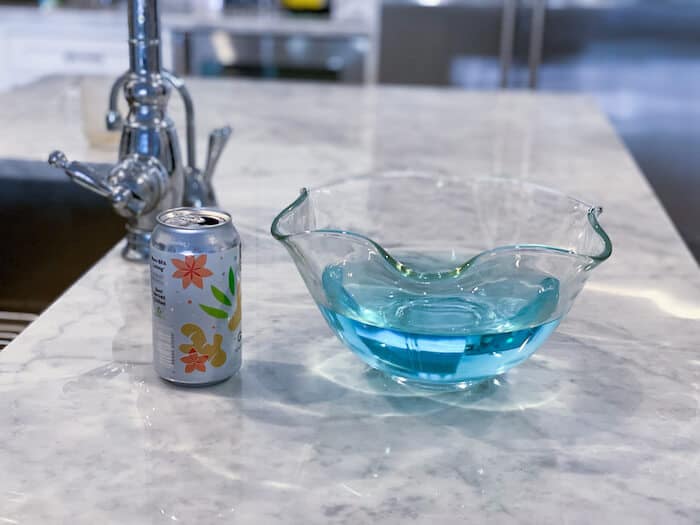
The picture above shows how much one packet of bubble solution makes. The can is for size reference. The kit comes with 2 packets.
This was enough for our small party. If you’re having a larger party, I would get at least one additional wand and some more bubble solution.
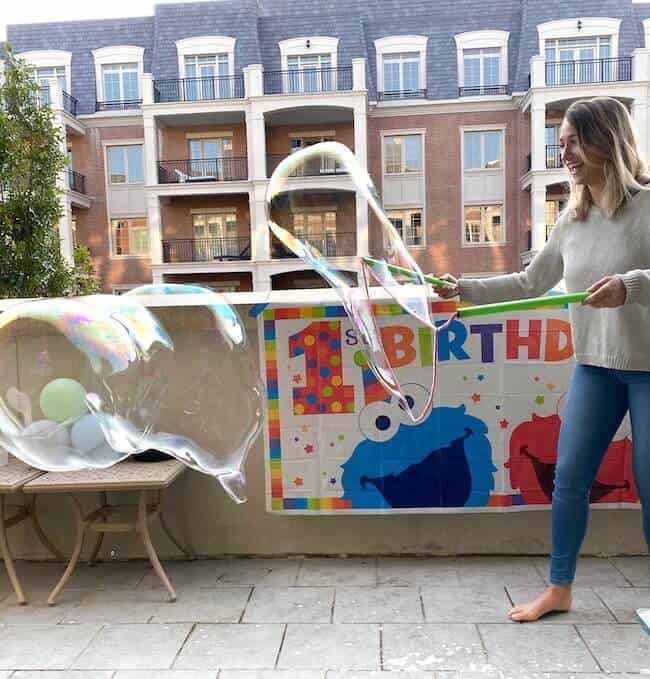
Now, let’s talk about how to make some awesome giant bubbles…
Tips for making really great bubbles
- Hold the two handles of the wand together and then SLOWLY move them apart.
- If there’s no wind, make your own by moving slowly.
- Once the first bubble forms, make more bubbles without re-dipping the wand. Do this by making circular motions with only ONE HAND while keeping the other still.
Pro tip: For INCREDIBLY cool videos, shoot them in slomo!

First birthday photos are important. Take a million!
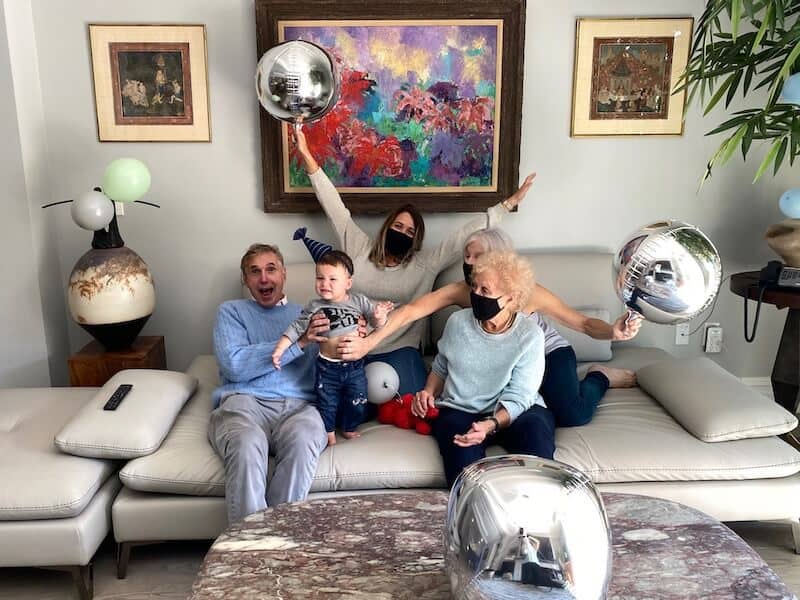
This *doesn’t* mean you need to hire a professional photographer.
Here are 4 tips for capturing your baby’s first birthday:
- Consider a ‘dress code’ for guests. I asked my family to wear pale shades of green, blue, and gray. Your pictures will look really beautiful and cohesive.
- Use the self-timer on your phone to get a shot of the entire group.
- Designate a couple of people to take pictures so you can be *in* the pictures, for once.
- Just snap a million pictures and try to capture small moments. Don’t worry about the photos being perfect.

This tip will sound obvious but it’s not going to happen unless you’re intentional about it…
Set a goal to be as mentally and physically present as possible during your baby’s first birthday party. There are so many wonderful memories to be made.
You don’t want to be playing hostess at all moments of the party. Prep as much ahead of time as you can. Recruit a family member to help you out.

Lastly, if your baby first birthday party is during the pandemic, here are some additional suggestions…
- Keep it SMALL. We only had immediate family.
- Include loved ones who aren’t able to be there by setting up a video conference. A good time to do this is while you’re singing happy birthday. We used Google Hangouts but you can also use Zoom or FaceTime.
- If the weather cooperates, do the whole party outside.
- Make smaller, separate platters of food instead of one large buffet.
- Serve pizza — or any food that you can easily divvy up onto individual plates. Do this yourself so you don’t have your party guests touching and breathing on the whole pie.
- Come up with a system for guests to know whose glass is whose. If you’re using paper cups, write people’s names on their cups with a sharpie. Or, you could do what I did for our small party and tie a different color ribbon on each glass.
- Decide if you will require mask-wearing. Let your guests know your expectations in advance.
There you have it: Tips for throwing a simple and fun first birthday party during the pandemic!
Enjoy yourself, make your baby smile, and don’t make too big of a deal out of the event. Make some pretty decorations, eat some good food, do something entertaining, and keep everyone safe.
Do you have a toddler between 1 and 4 years old?
Email yourself this seriously great list of toddler stocking stuffer ideas to save for Christmas 2024.

 Follow on Pinterest